ContenuContent
| Sommaire | ||||
|---|---|---|---|---|
|
| Avertissement |
|---|
The latest version of the plug-in made available by Payline is shown below. In the event of difficulties encountered in the use of the module, we advise you to contact a technical specialist. |
Presentation
The Payline plugins for WooCommerce allow a quick implementation of Payline solution in your shop.
| Info |
|---|
Recurring payments (REC) and installments payments (NX) are not available on Payline WooCommerce module. We do not plan any evolution. |
Available functions
Payline allows the following functionalities:
- Full payment
Simple payment on our secure interface. You can integrate it into your checkout, or redirect your buyers to it. - Payments on order or shipping
Payment with validation within 7 days is possible or immediate validation for payment on order. - Full or partial refund
Each item in the order can be refunded separately. - Installments payment (NX)
The buyer can pay for his order in several installments (only one payment schedule can be chose by the merchant). - Subscription payment (REC)
The buyer can subscribe to a subscription over a defined payment number, the schedule is defined by the merchant. - Retry payment
The proposal of a secondary payment methods list after a payment refusal. - Customizing the user experience
Redirection to a customized page, checkout integration/lightbox. - Fraud
Depending on the buyer's history, his addresses (including relay points), the content of his order... - Automatic payment / order synchronization
Your buyer has not returned to the store after a redirect to our payment interface ? No problem, the notification process automatically updates their order.
Payment steps
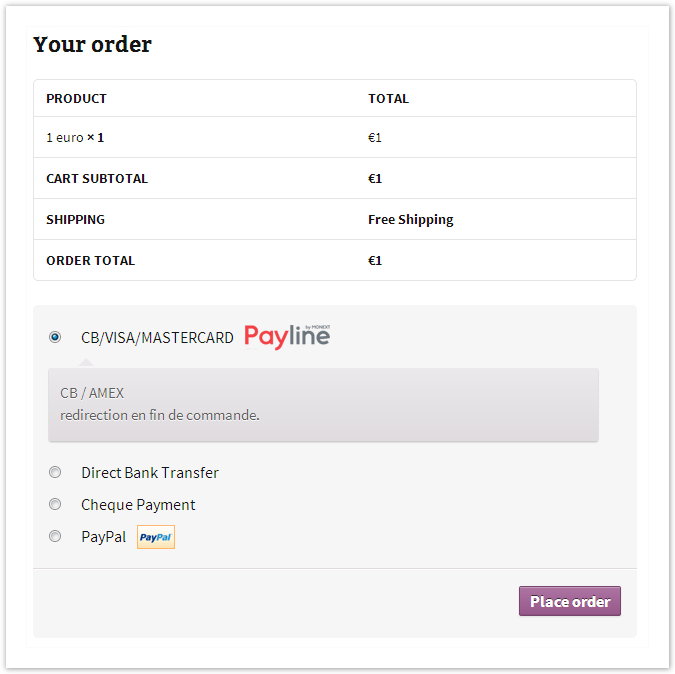
Once the plugin is installed, configured and activated, Payline can be selected by customers of your WooCommerce store on Checkout page :
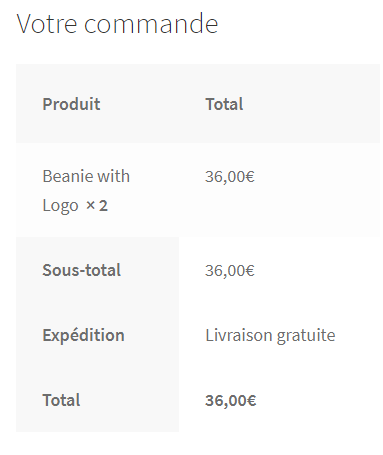
- The consumer validates his order.
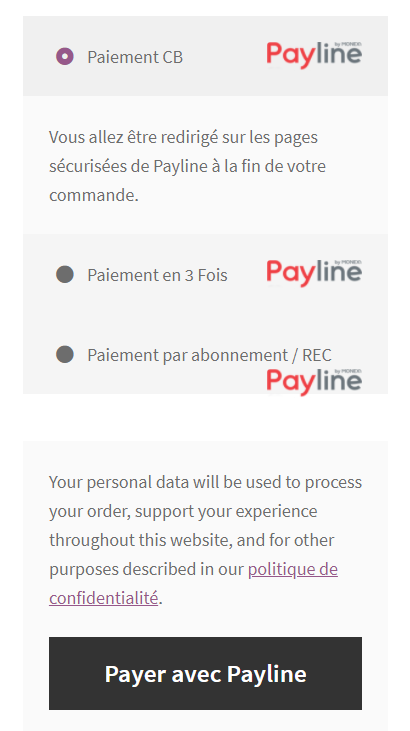
- The payment page is displayed with the payment types (CPT, REC, NX). The consumer selects his payment method.
- He fills his payment information securely and then validates his payment.
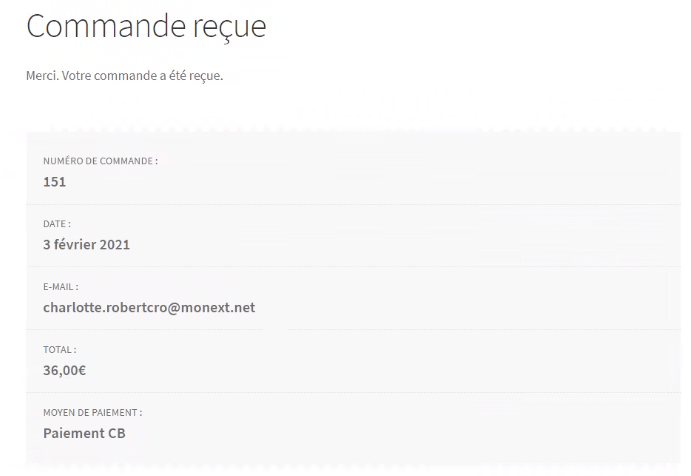
- The merchant website displays the result of the order: return to the store (see below).
From this step, the order is created in the pending state and can be viewed in the WooCommerce admin center
| Volet | |||||
|---|---|---|---|---|---|
|
Return to merchant website
- If you have enabled automatic redirection option at the end of payment from your Payline administration center, the buyer will be redirected to the "order received" success page automatically.
- If this option is not enabled in your Payline administration center, the buyer will be redirected to the "payment receipt" and will have to click on "finish" in order to be redirected to the merchant website.
Finally, the merchant can consult the order details in WooCommerce administration center.
| Volet | |||||
|---|---|---|---|---|---|
|

| Extrait | ||
|---|---|---|
|
Presentation of WooCommerce plugins
The Payline plugins for WooCommerce allow a quick implementation of Payline solution in your shop.Structure Plugin for WooCommerce 1.xThe plugin for WooCommerce 1.x is made available in form of compressed folder named wooCommerce16_Payline.zip containing two directories: assets and classes . Plugin for WooCommerce 2.0The plugin for WooCommerce 2.0 is made available in form of compressed folder named woocommerce-payline_v1.0.zip containing a single directory: woocommerce-payline . Plugin compatibilityThe plugin for WooCommerce 2.0 is developed and tested with the following environment:
|
The github link: github.payline.woocommerce
Integration of the plugin in your shop
Pre-requisites
The Payline plugins for WooCommerce are built around the Payline PHP kit, whose operation requires the activation of php_curl , php_http , php_openssl and php_soap extensions .
You must also have Payline account to configure your plugin.
The Payline solution is based on the call of web services, make sure that the call of secure web services is therefore possible with your hosting solution (the opening of ports 8080 and 443 in input / output is necessary).
Installation
Under WooCommerce 1.x
Unzip the content of wooCommerce16_Payline.zip in the WooCommerce plugin directory on your shop server (by default wp-content / plugins / woocommerce / ). Since the assets and classes subdirectories are already present in this directory, this operation will merge their content with that of wooCommerce16_Payline.zip .
Then edit the woocommerce.php file located under wp-content / plugins / woocommerce / and add the highlighted line below:| Bloc de code |
|---|
 // Include Core Payment Gateways
 include( 'classes/gateways/class-wc-payment-gateways.php' );
 include( 'classes/gateways/class-wc-payment-gateway.php' );
 include( 'classes/gateways/bacs/class-wc-bacs.php' );
 include( 'classes/gateways/cheque/class-wc-cheque.php' );
 include( 'classes/gateways/paypal/class-wc-paypal.php' );
 include( 'classes/gateways/cod/class-wc-cod.php' );
 include( 'classes/gateways/mijireh/class-wc-mijireh-checkout.php' );
include( 'classes/gateways/class-wc-payline.php' ); |
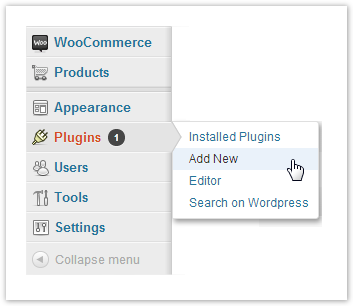
Under WooCommerce 2.0
Log into your WordPress back office. Click on Add New in the Pluggins menu :
On the Install Plugins screen displayed, click the Upload link . Then click on Choose a file button and select the woocommerce-payline_v1.0.zip archive in your system. Once the archive is selected, click on Install Now button .

Activation
This step only applies for plugin for WooCommerce 2.0.
To activate this plugin, click on corresponding link in Installed Pluggins screen :

Configuration
The Payline plugin configuration form is accessible via the Payline link under Payment Gateways tab of WooCommerce plugin configuration screen:

The form displayed is identical under WooCommerce 1.x and WooCommerce 2.0
General settings
- Status allows you to activate the display of payment via Payline in order process.
- Title is the label under which payment via Payline is offered to the buyer in order process.
- The text entered in the Description field is displayed to the buyer when Payline method is selected.
- Debug logging allows activating the tracing of events related to Payline in specified file.

Connection settings

- Merchant ID is the element which was communicated to you during the creation of your account. You have one identifier per environment (approval and production), this field must therefore be filled in coherence with what selected for Target environment
- Access Key is your key for calling Payline web services. A key was communicated to you when you created your account. You can create others at any time via Payline administration center.
- Target environment corresponds to the Payline environment to which your payments are directed. The certification environment is reserved for tests, payments are fictitious.
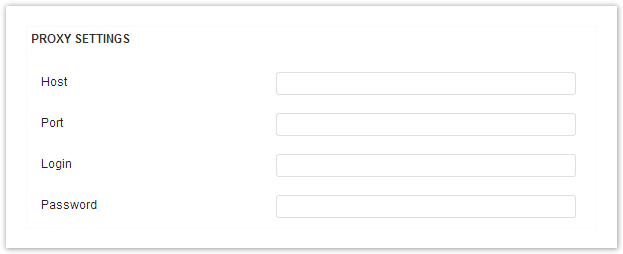
Proxy settings
- Host , Port , Login and Password must be valued with the same parameters as those possibly used to access the Internet from your server. Leave these fields blank if you are not using a proxy.
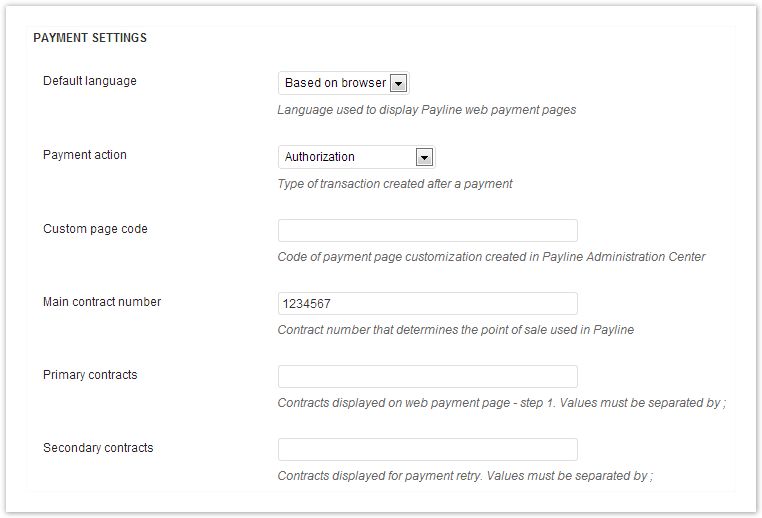
Payment settings
- Default language is the language in which the payment page is displayed
- Payment action determines the type of transaction made during a payment:
- An authorization transaction must be validated in the Payline administration center within 7 days for payment to be effective. This allows you, for example, to charge your customer only when their purchase is shipped to them.
- An authorization + Capture transaction corresponds to a full payment, the buyer is immediately debited.
- Custom page code is used to enter a code for personalizing your payment pages, created from the Payline administration center;
- Main contract number is your contract number which determines the point of sale used;
- Primary contracts ( mandatory field ) must be filled in with the contract numbers (separated by semicolons) corresponding to the means of payment you wish to offer your customers for a first payment attempt
- Secondary contracts must be filled in with the contract numbers (separated by semicolons) corresponding to the means of payment which you wish to offer to your customers for a second payment attempt, if the first attempt has failed.
Operation
Selection of payment method
Once the plugin is installed, configured and activated, Payline can be selected by customers of your WooCommerce store on Checkout page:
Redirect to the Payline payment web page
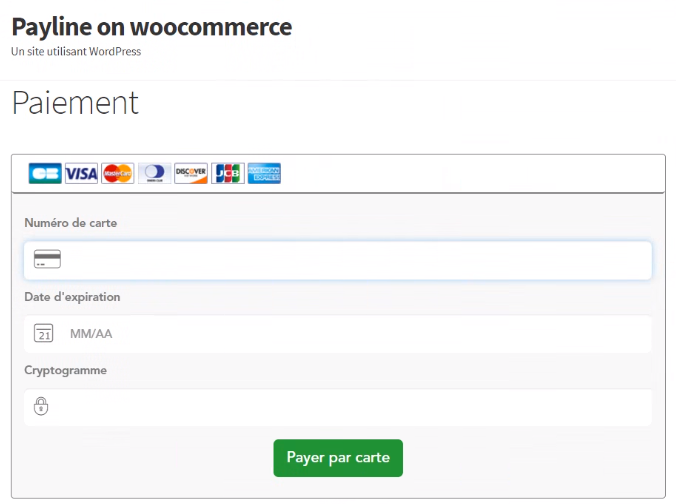
When confirming the order after choosing Payline as the payment method, the customer is redirected to Payline payment web page. The means of payment corresponding to contracts chosen in the configuration of plugin are offered to him.
He can enter his payment information securely.
From this stage, the order is created in the pending state and can be viewed in the back office of the store.
Return to the boutique
Once the entry of his payment information validated, the customer obtains a confirmation screen informing him of the result of his transaction. On this screen, a "back to the store" button allows him to be redirected to the order confirmation page in the WooCommerce store. The wording chosen for Payline method is recalled on this page.
 If the payment is canceled or refused, the customer is redirected to the standard WooCommerce page indicating that the order is not paid. The Pay button allows you to start the process again.
The return to the store immediately updates the order status. If the payment is refused or canceled, the order is changed to failed status .
When the payment is accepted, the order goes to the processing state .
If the payment web page is closed without the customer returning to the store, the update in your WooCommerce store will be automatically carried out by the Payline notification processing.
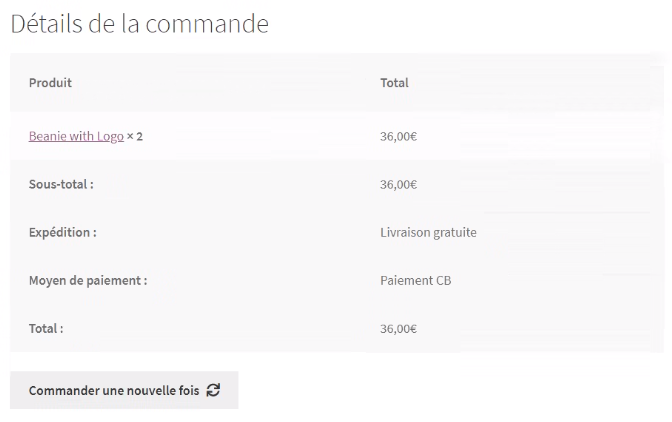
Order details
Payment information appears in the Custom Fields section of the order detail:
 Related
 Linked pages
Contenu par étiquette showLabels false max 10 spaces com.atlassian.confluence.content.render.xhtml.model.resource.identifiers.SpaceResourceIdentifier@9a3 showSpace false sort title type page cql label = "plugin" and label = "integrationen" and type = "page" and space = "DT" labels bancontact belgique choixdelamarque